
Easy Management
Simple Document Management Integrated with Just One Click
Say goodbye to switching between platforms. Everything you need is all in Channel Talk.

Easily Transfer External Documents
Simply copy and paste your Markdown-formatted documents.
Stay Organized
Organize your articles with version history, categories, and topics.
Manage Your Document Site
Create your Document site with a single click and easily modify it at any time.
Improve Chat Efficiency
The More Documentation, The Better the Chats
With Channel Talk, live chat and documentation management is all in one place.
RAG
ALF Becomes Even Smarter with Documents
AI agent, ALF, finds information related to customer inquiries within Documents and generates suitable responses.

Share Documents with a Link
Copy the link in Documents to quickly deliver the information your customers need.

New Features Added Constantly
Display frequently viewed articles and pull related documents all in Channel Talk’s home.

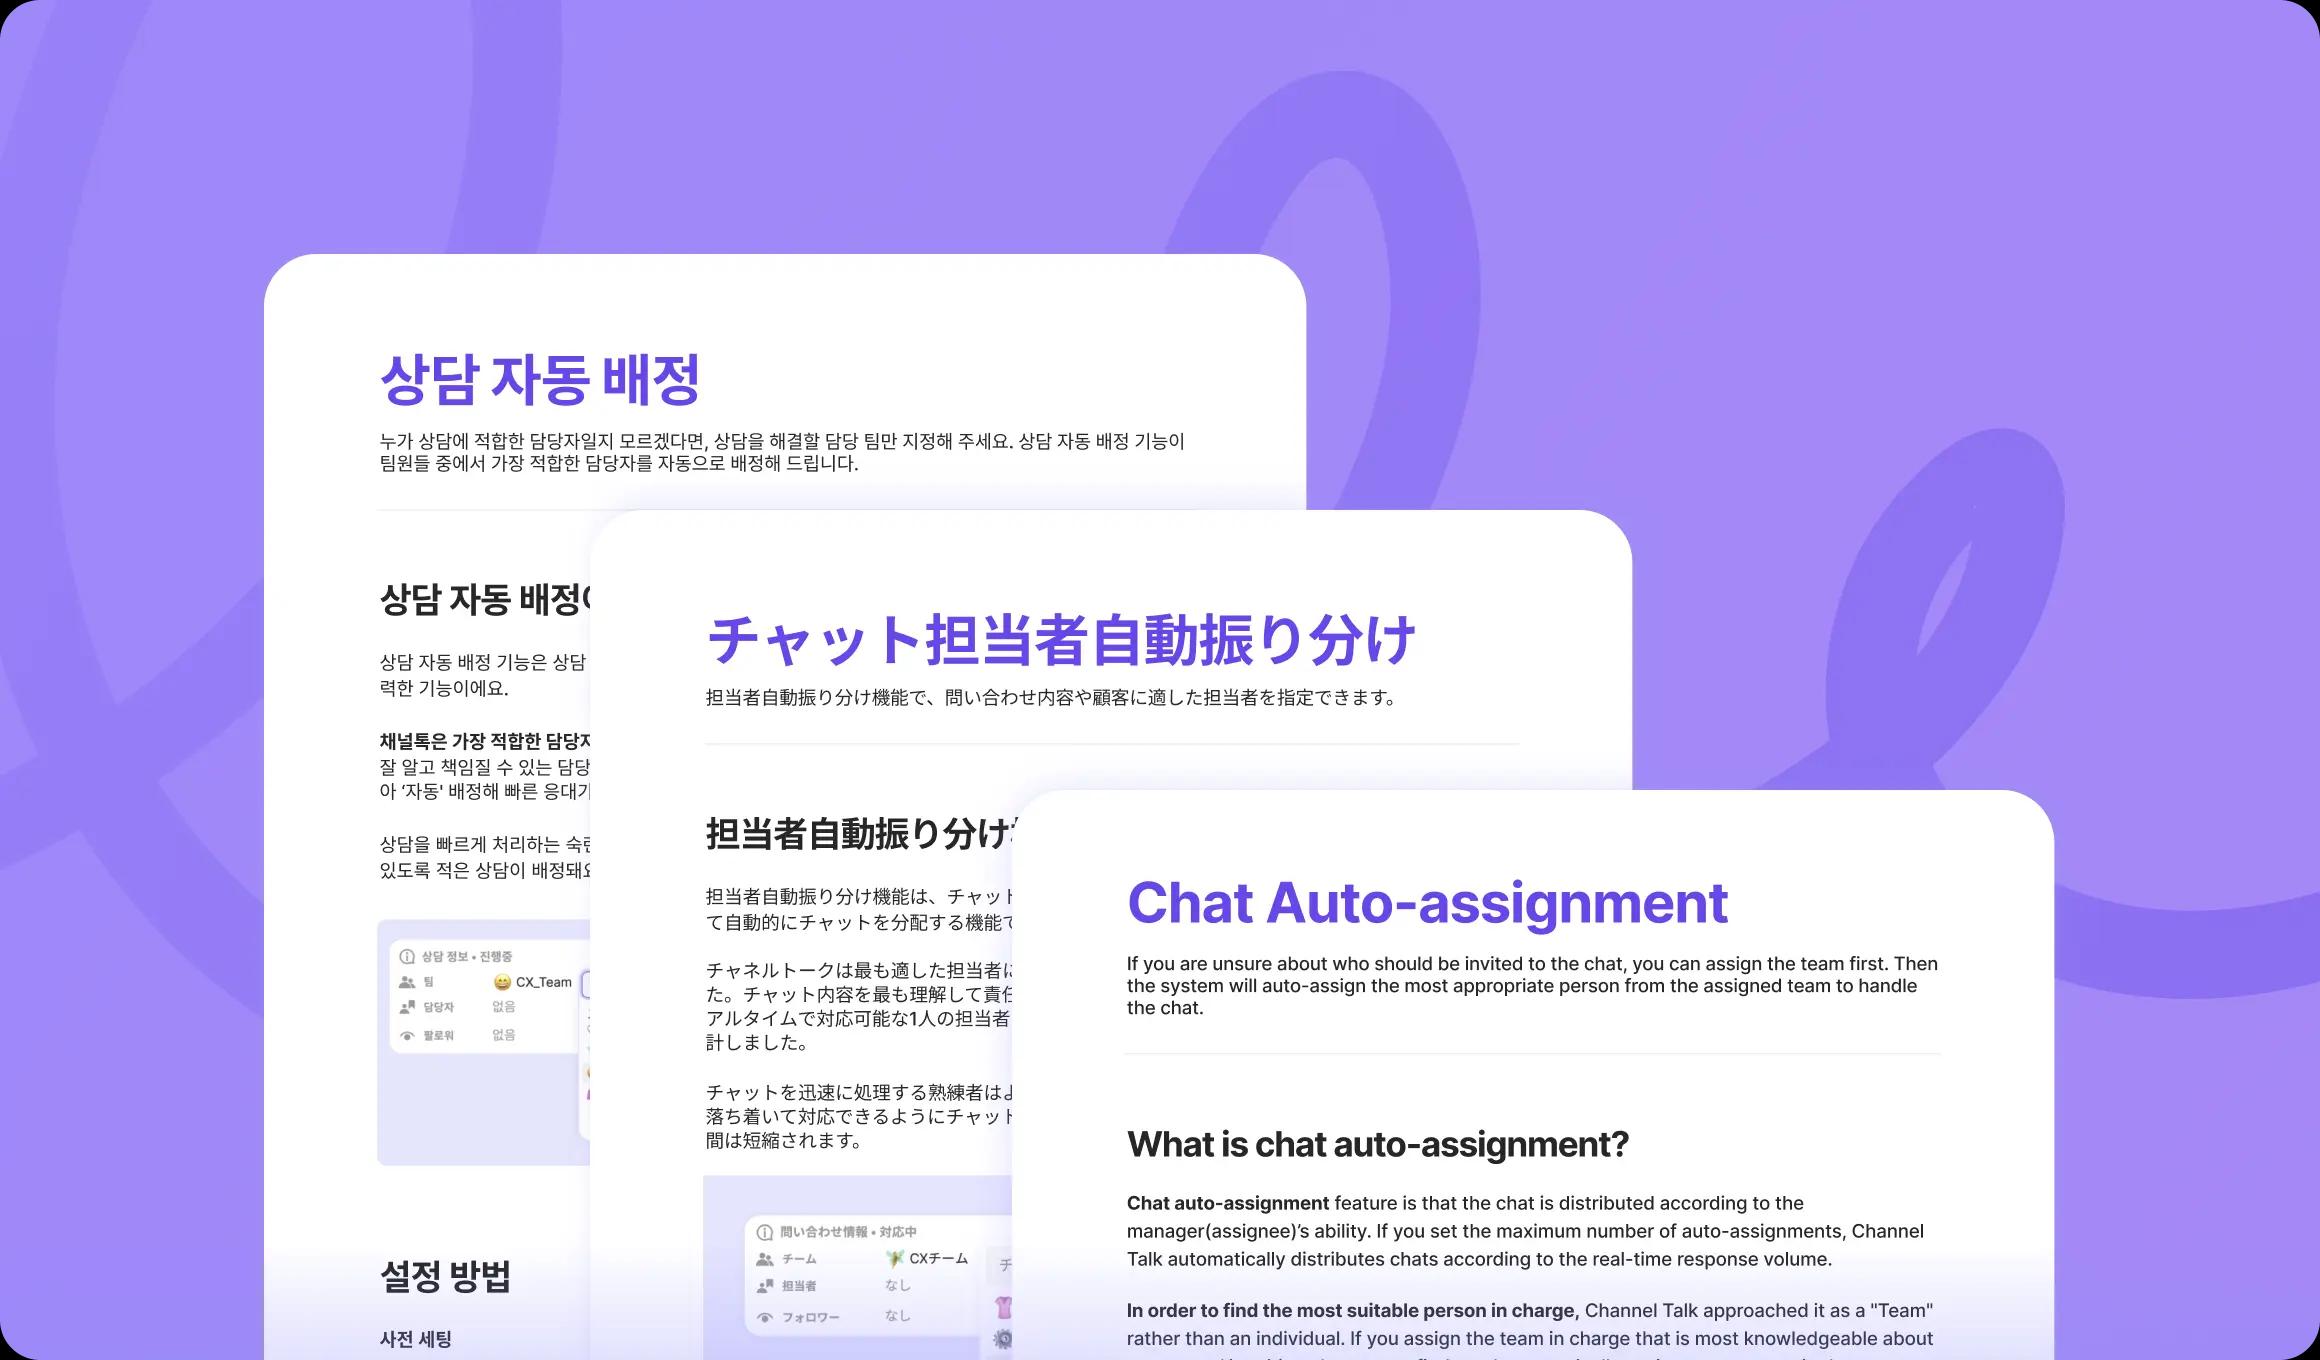
Multi-Language Support
Help Customers Across the Globe
Create documents for customers all over the world with 33 languages supported.
Enjoy all of this at no extra cost!
The paid plan offers unlimited access to all document features. The free plan will allow unlimited document creation.


Fully Customizable to Your Needs
Keep Your Existing URLs
Use your existing URLs with custom domain and redirection management features.

Easy SEO management
Easily set OG tags. We also plan to support for technical SEO features like sitemaps and HTTPS.

Design Your Own Document Site
Customize your Document site's theme colors, welcome messages, and more to match your brand.

Coming soon
Advanced Options With Open API
Use the API to change your website's design or analyze customer-related data.

Coming Soon
Our upcoming features:
Pull Documents During Chats
Search and use relevant documents during chats. Attach relevant web pages directly to messages.
Display Documents in Home
Feature relevant articles in your chat interface, Home, to reduce the volume of queries in advance.
Add Blog and Timeline Views
Utilize a new view to manage blogs, update notes, and more.
Integrate with FAQs
Incorporate FAQs related to each document.
Compile FAQs on a single page for easy sharing with customers.
Plus Many More!
Build Your Ultimate Knowledge Base
Access to all features with a paid plan
Create unlimited articles, even with a free plan
No additional setup required